Custom Roles
Create roles and configure granular permissions to control what each user can access.
Overview
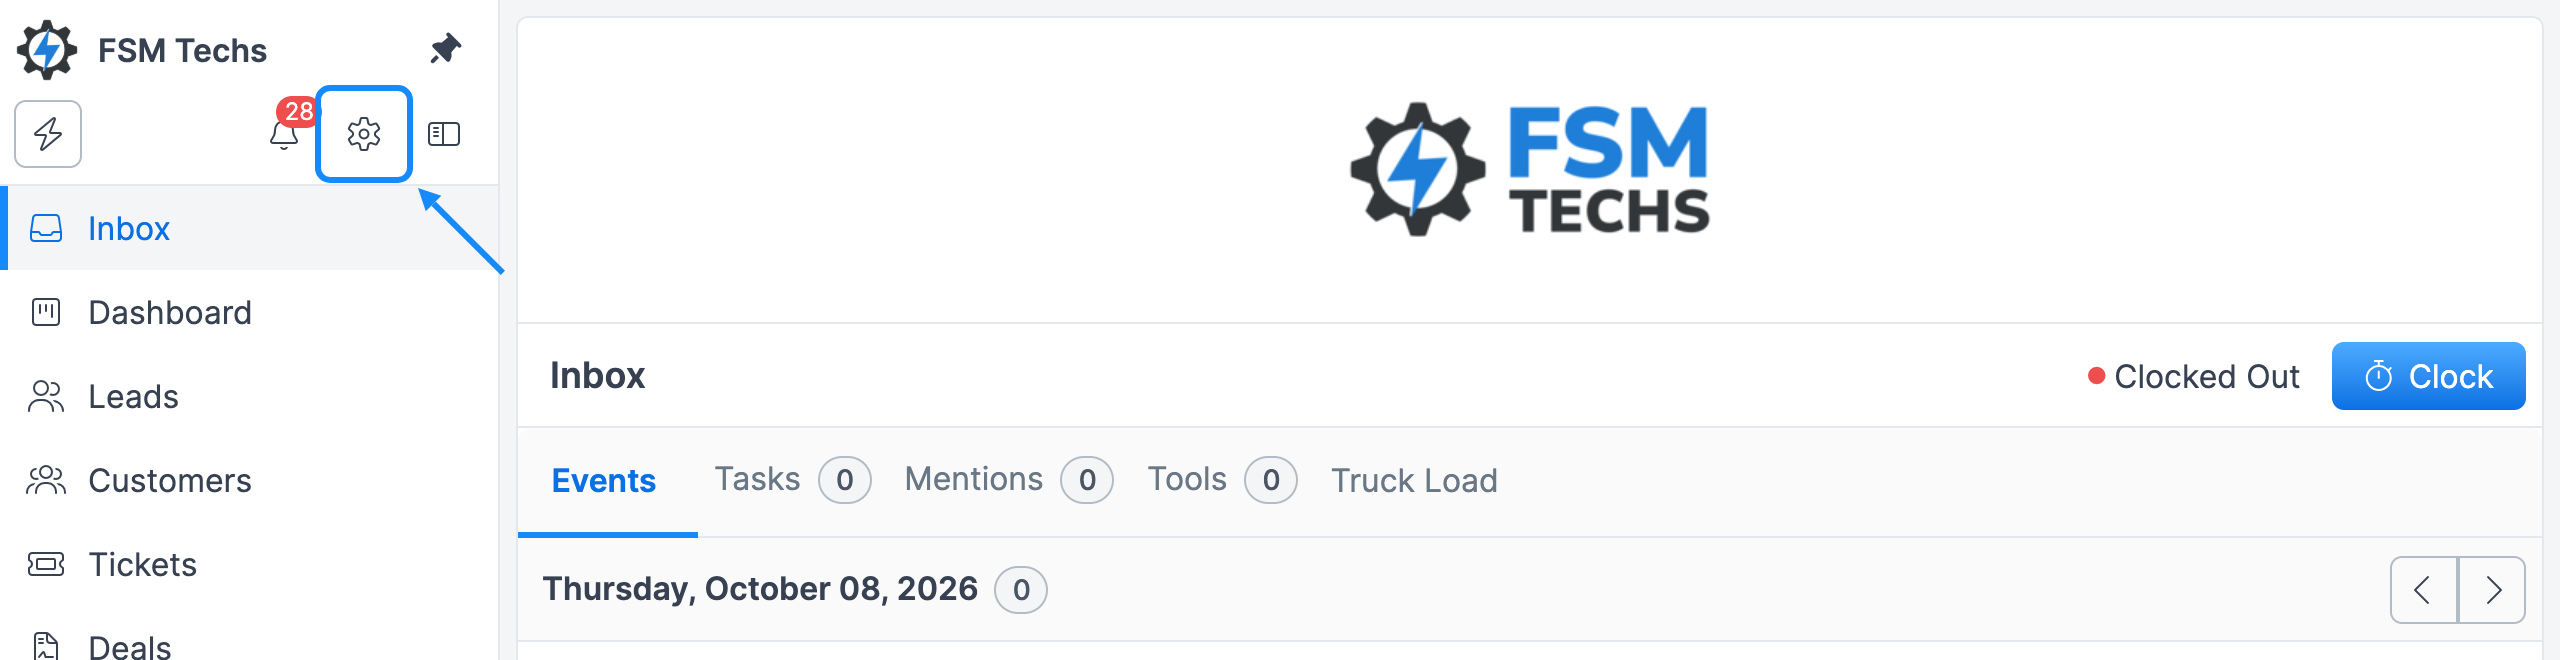
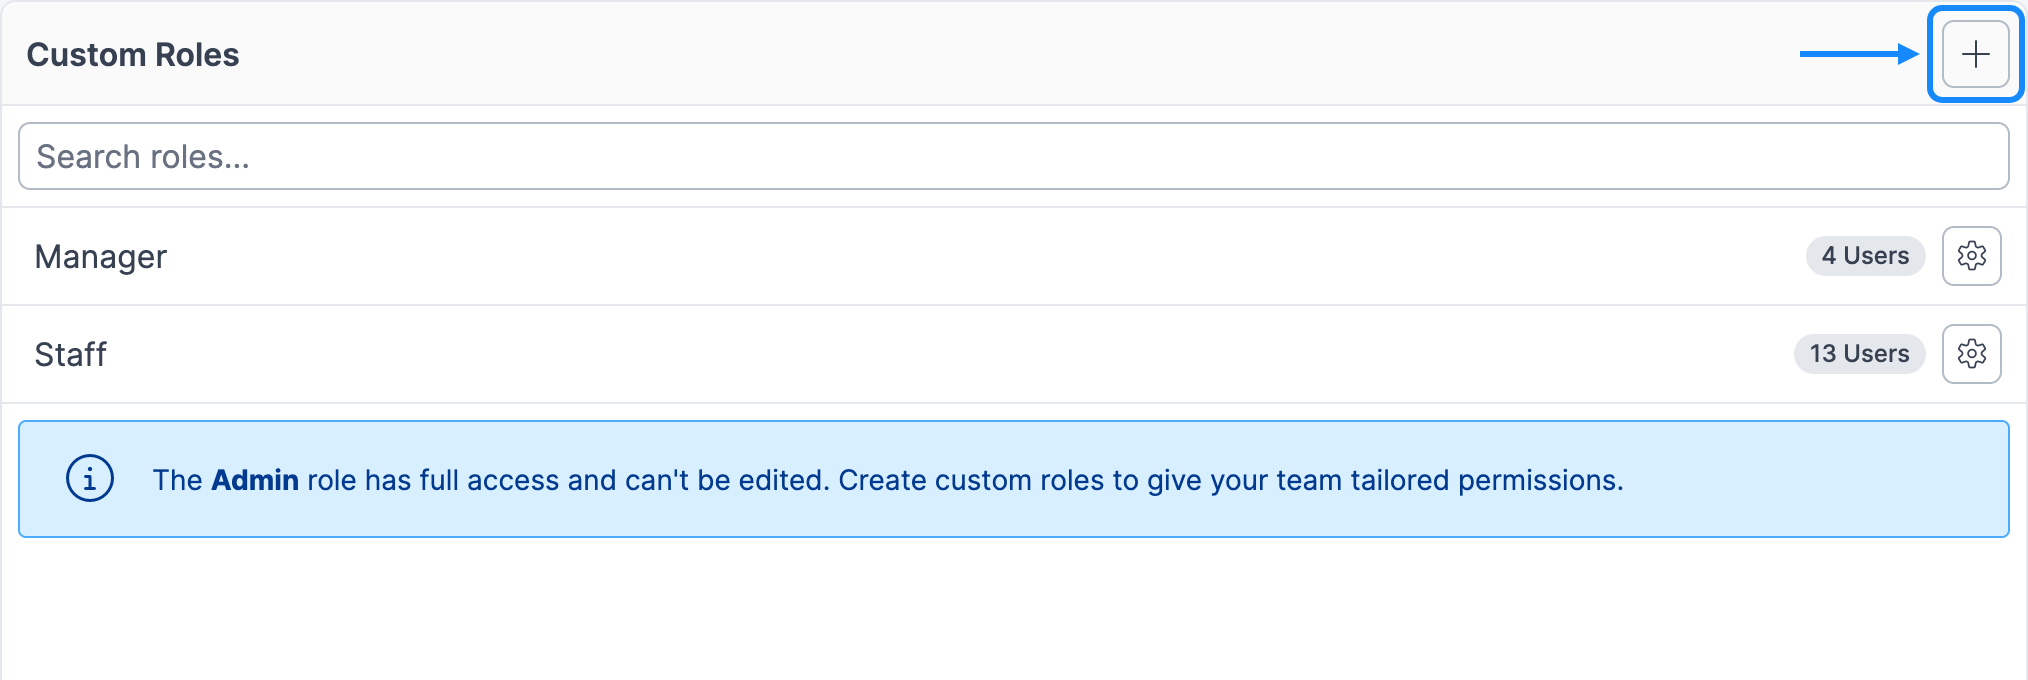
Use Settings > Custom Roles to choose the permissions your team needs in Forz. You can adjust the Manager and Staff roles or create additional roles for different responsibilities, such as a dispatcher or office coordinator.
Each team member has one role. Changing a role's permissions changes them for everyone assigned to that role.
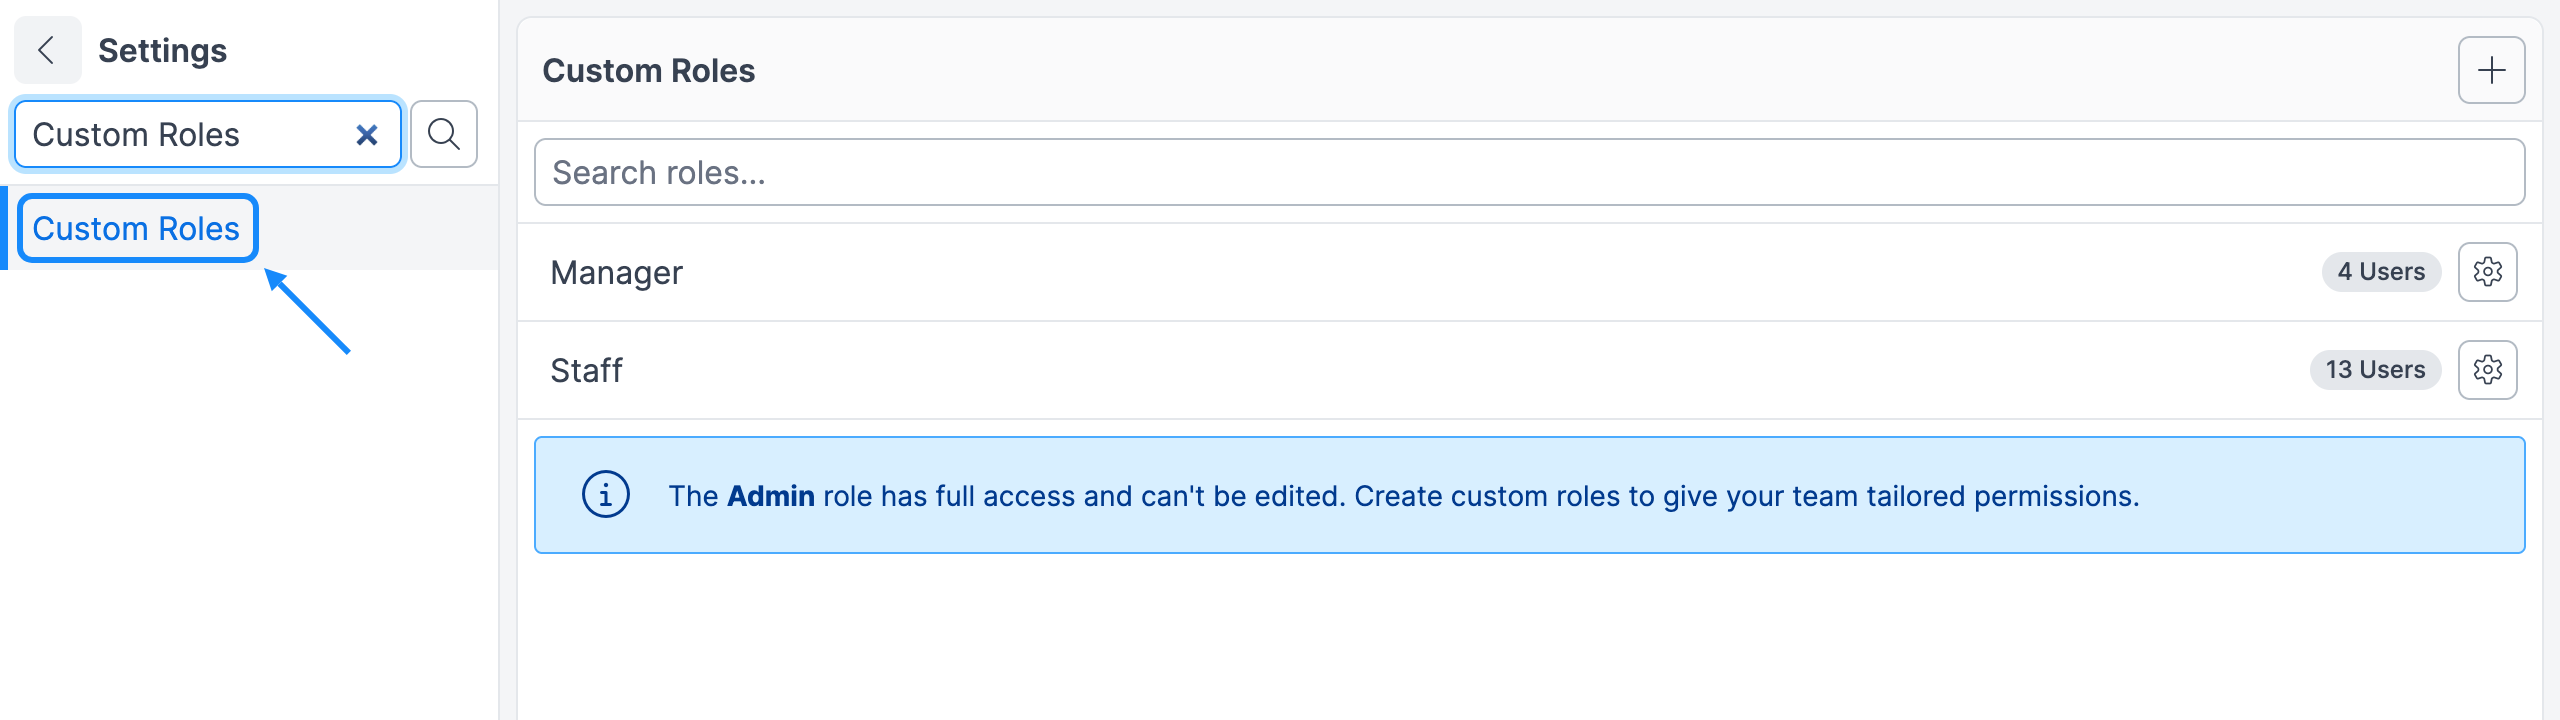
The roles included with Forz
Admin has full administrative access to the features enabled for your account. This protected role does not appear in the Custom Roles list and cannot be customized, renamed, or deleted.
Manager starts with broader permissions for managing daily operations.
Staff starts with a smaller set of permissions for everyday work.
Manager and Staff are starting points. You can fully customize their available permission settings and create more custom roles to suit your team. Their built-in names are fixed, and the roles cannot be deleted. To start with their permissions and use a different name, duplicate the role.
An Admin must manage Custom Roles, and the feature must be enabled for your account. If it is missing from Settings, ask your account administrator or Forz support for help.
Change a role's permissions
Open Settings > Custom Roles.
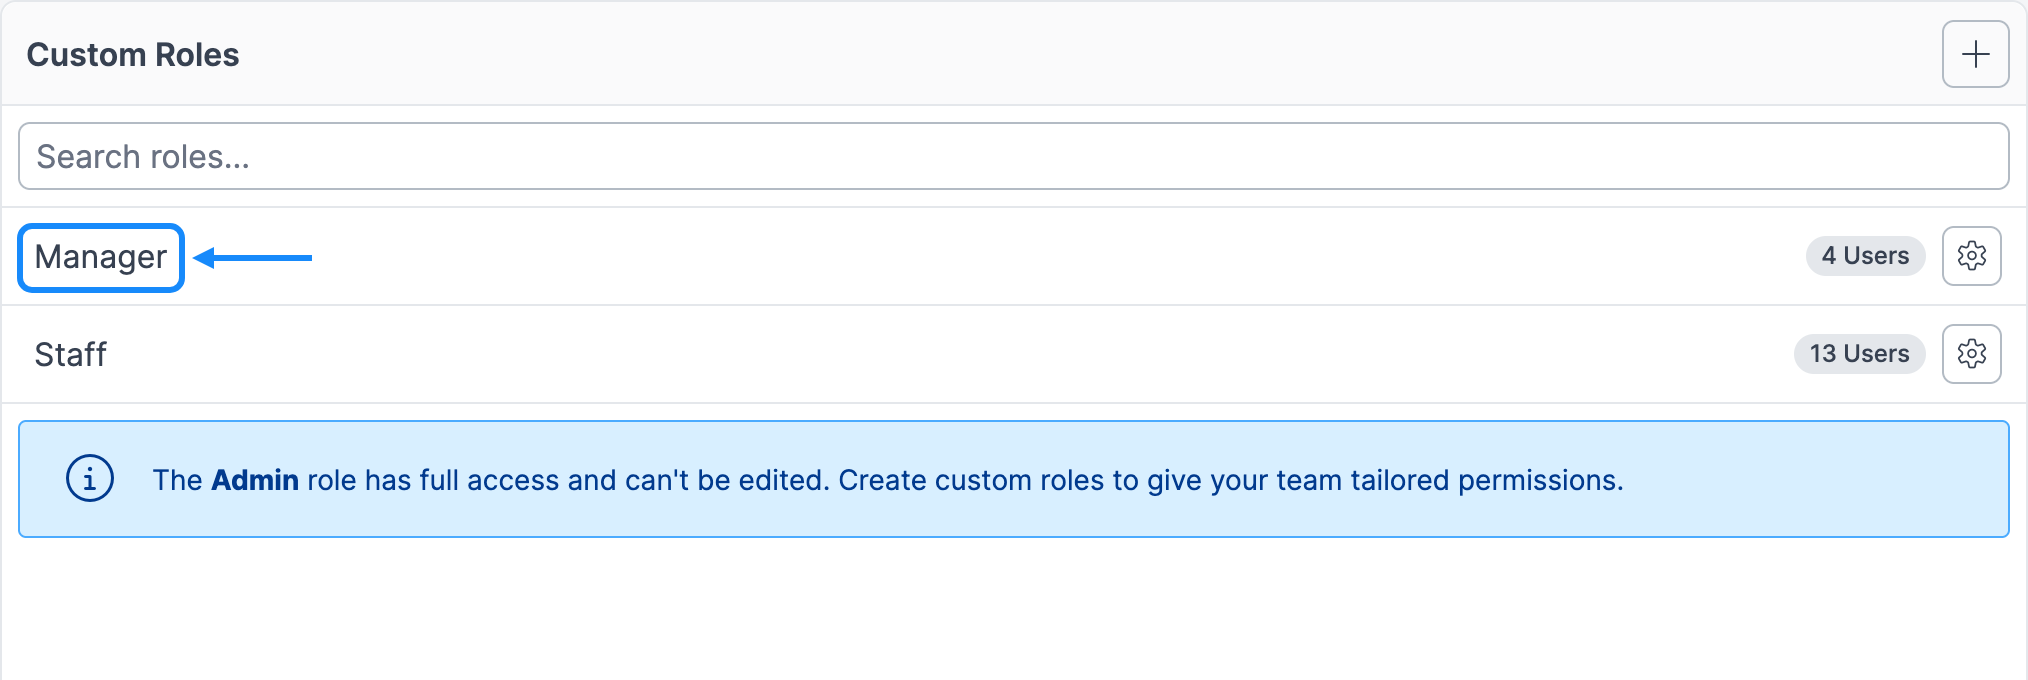
Select Manager, Staff, or a custom role. Use Search roles if needed.
Select a feature from the list on the left. You can search this list too.
Turn individual permission switches on or off.
Changes save automatically; there is no separate Save step for permission switches. They apply to everyone using the role on their next page load. Ask team members to refresh any pages they already have open.
Select All turns on every permission in the selected feature group. Deselect all turns them all off in that group. These buttons do not change the other feature groups.
If only one person needs different permissions, create a separate role and assign it to that person.
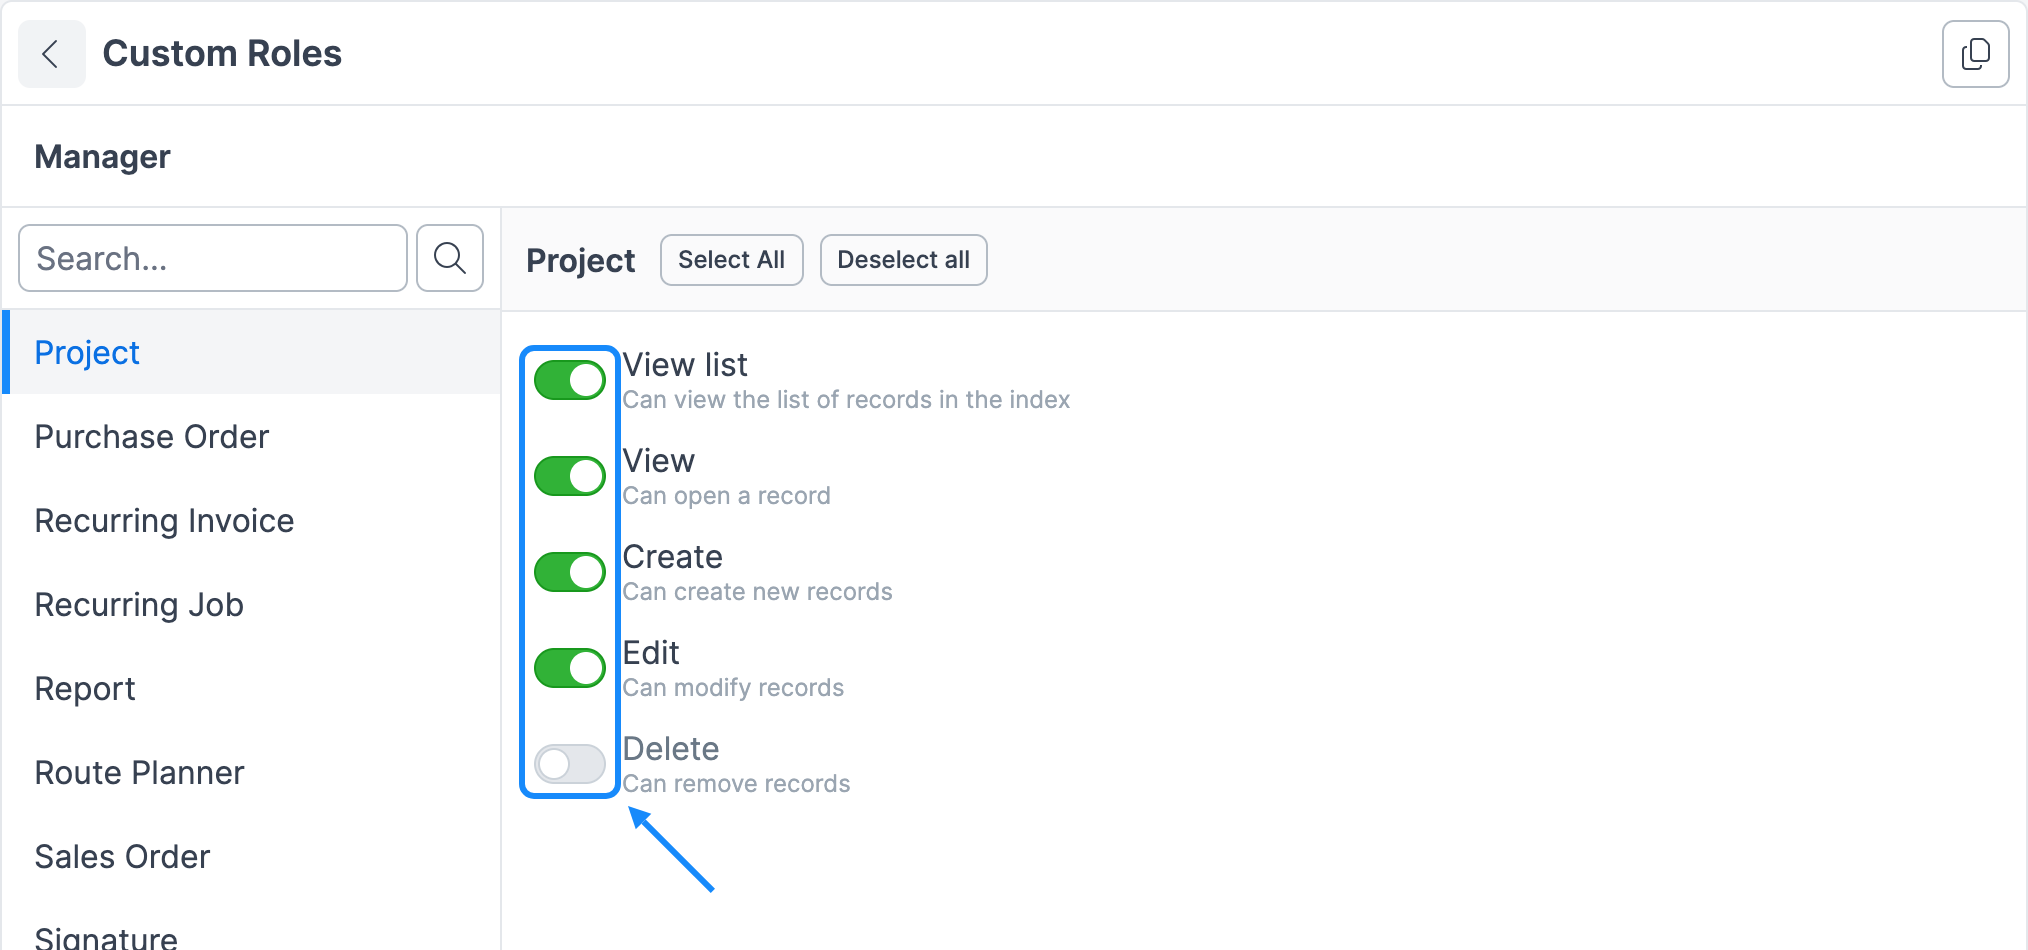
Understand the permission labels
Where both View list and View are available, enable both if someone needs to browse a list and open its records. Turning on Create or Edit does not automatically turn on the viewing permissions.
The available actions differ by feature. Some tasks also depend on a related feature's permissions. For example, creating an estimate from a job uses Estimate > Create. Record rules still apply, such as restrictions on deleting a record with linked information.
Create an additional role
Go to Settings > Custom Roles and click the + button.
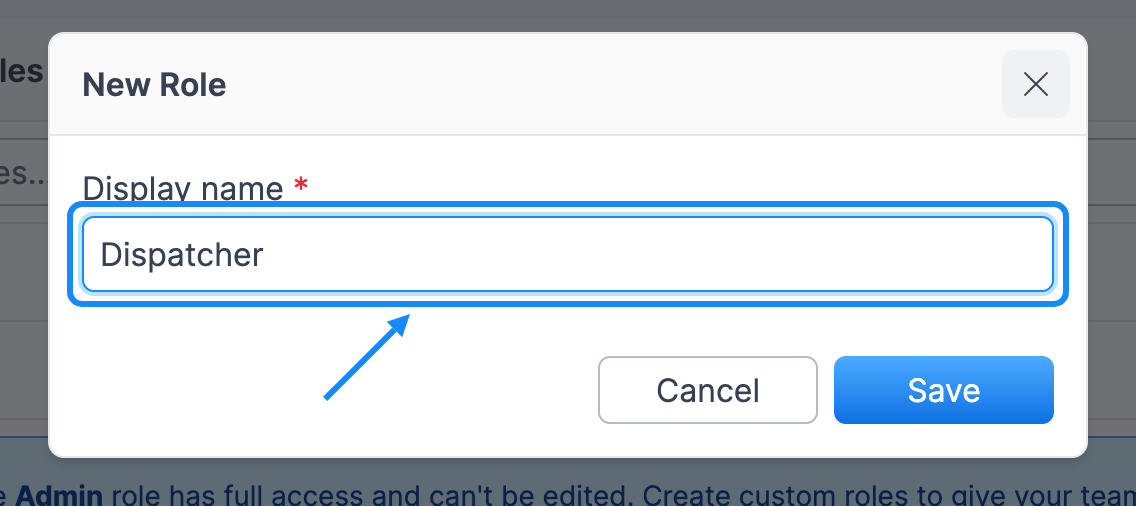
Enter a Display name, such as “Dispatcher.” Choose a name that is not already in use; capitalization alone does not make it a different name.
Click Save to open the new role.
Enable the permissions the role needs before assigning it to anyone.
New roles start with all permission switches off.
To use an existing role as a starting point:
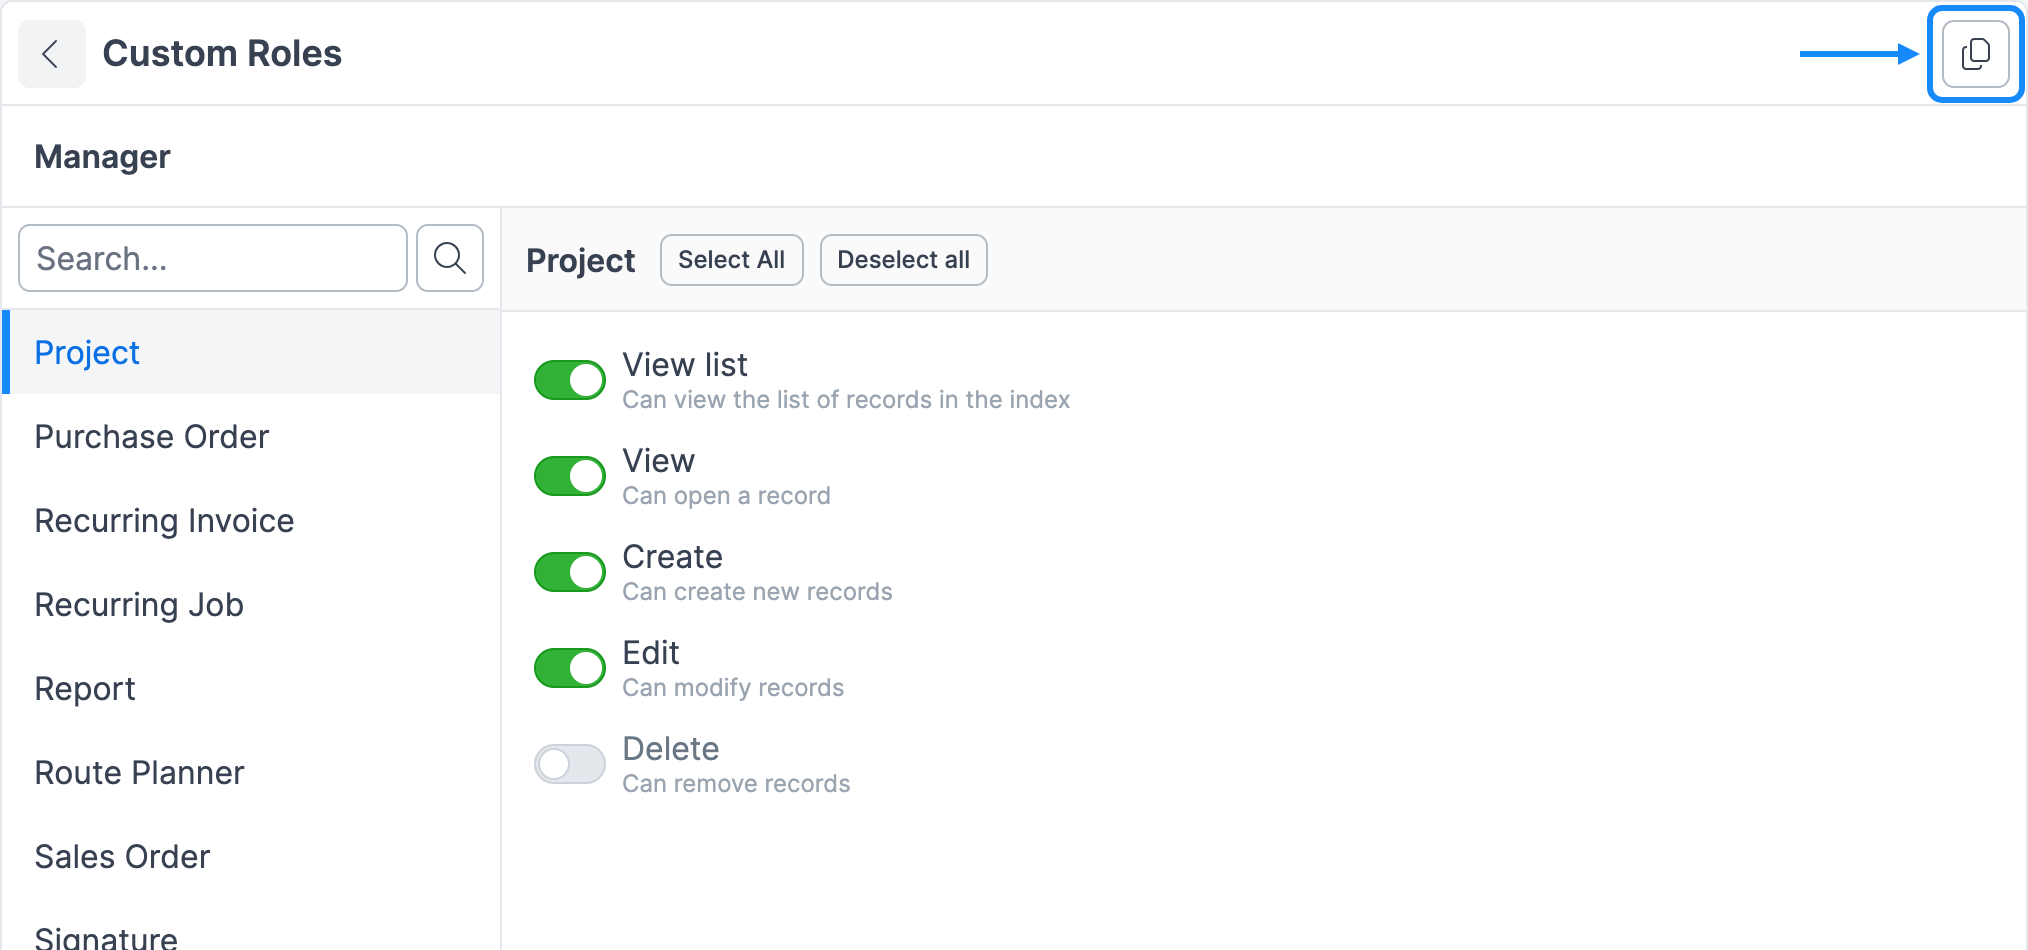
Open the role you want to copy.
Click the Duplicate icon at the top right.
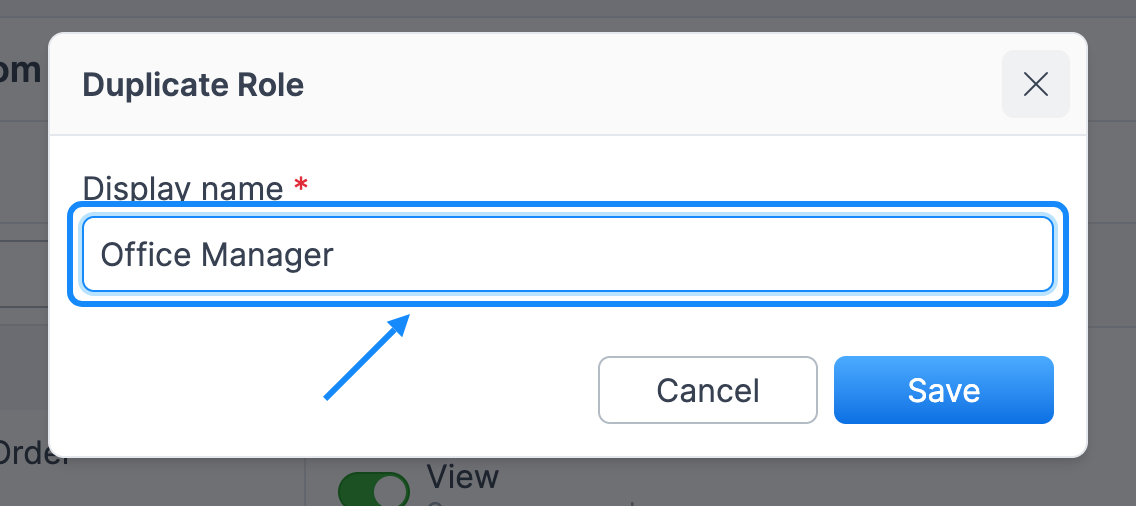
Enter a new Display name and click Save.
Adjust the copied permissions as needed.
The duplicate starts with the original role's current permissions. Changes to either role are independent, and team members remain assigned to their existing role until you reassign them.
Assign a role to a team member
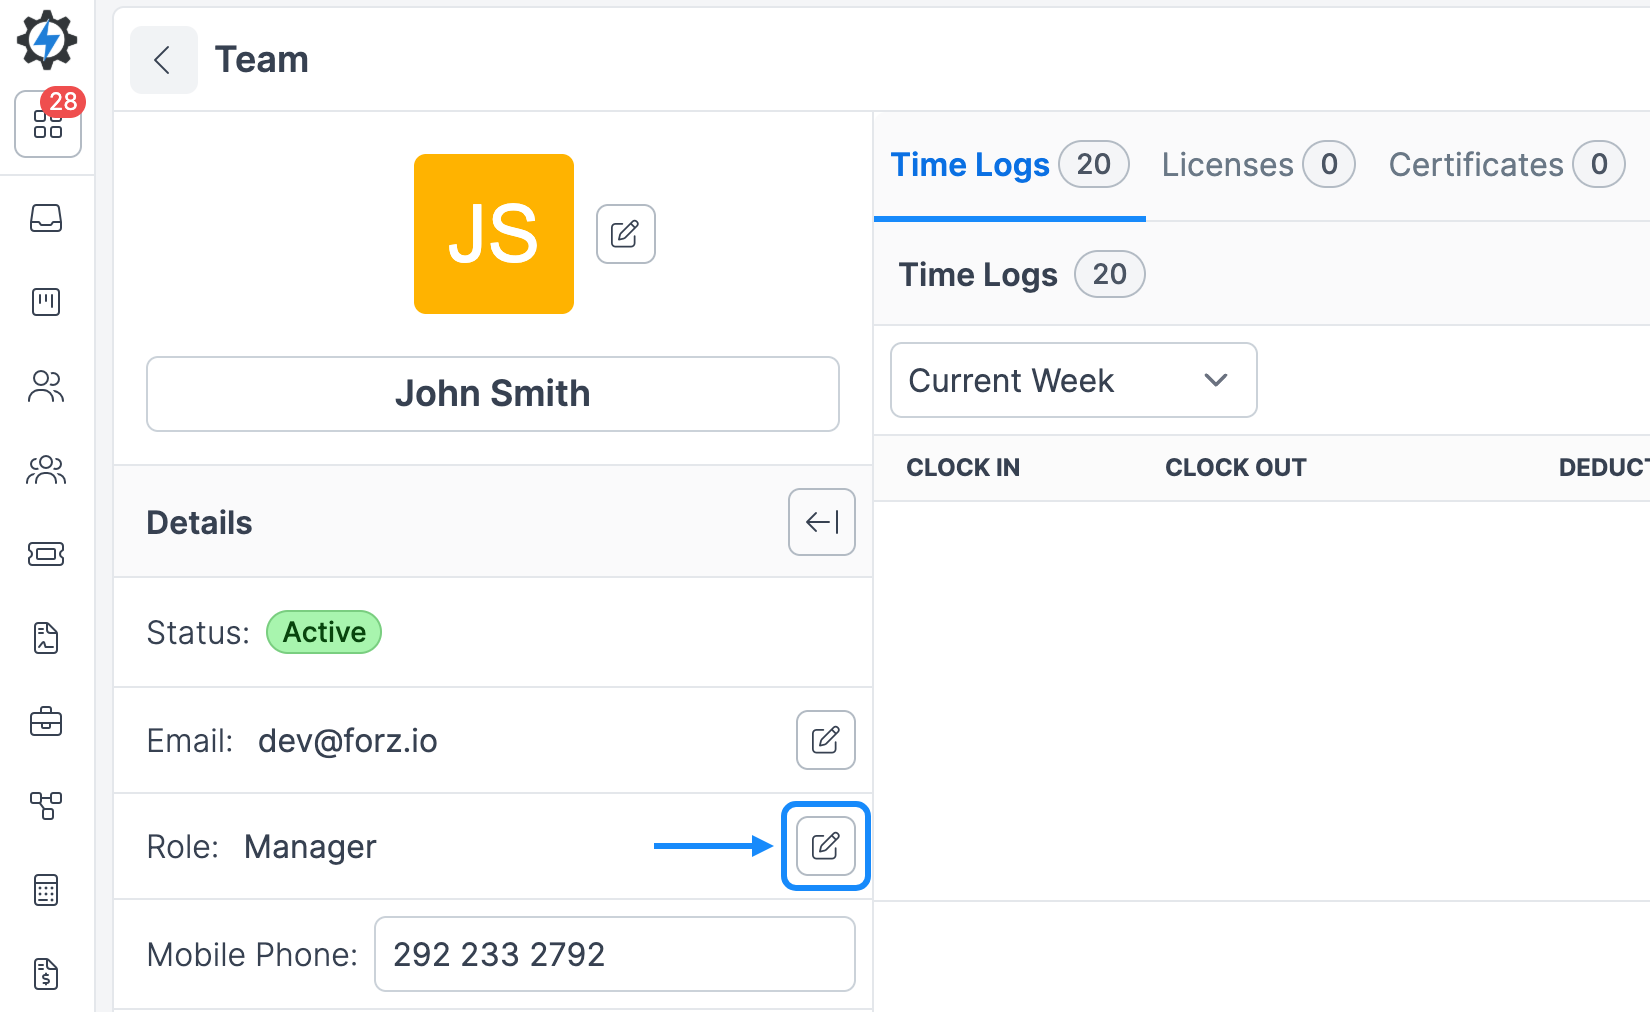
Open Team from the main sidebar.
Select the team member.
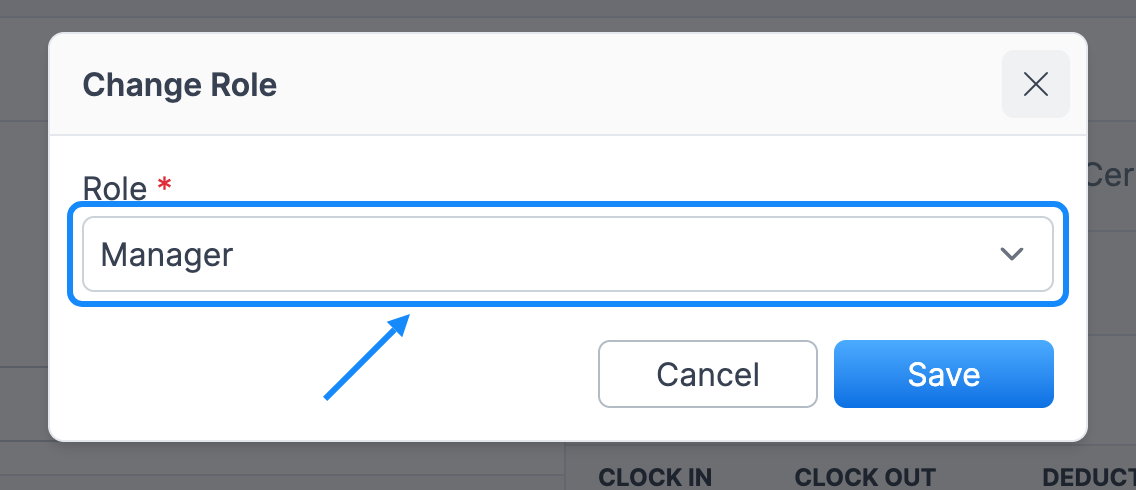
Click the pencil icon beside Role to open Change Role.
Choose the role and click Save.
When adding a new team member, choose their role in the new-user form.
An Admin can assign roles. A custom role with Team > View and Team > Edit can also change roles for non-admin team members, but only an Admin can assign or remove the Admin role. The account owner's role cannot be changed from this screen.
Default Manager and Staff configuration
The table below summarizes the default Manager and Staff permissions by area. Your account may differ if these roles were customized or created with earlier defaults.
You can customize the available permissions for both roles, duplicate them, or create additional custom roles. The built-in Manager and Staff roles cannot be renamed or deleted.
Manage: Means view, create, and edit; it does not include deleting records. Access also depends on the features enabled for your account.
Deleting records: Delete permissions are off by default for both Manager and Staff.
Time tracking: Creating or correcting manual time entries requires Timesheets > Manage time. This is enabled for Manager and off for Staff by default. The Time Log Create and Edit switches alone do not grant this access.
Tools: Staff can view individual tools, edit them, and assign them. Enable Tool > View list if staff members also need to browse the Tools list.
Rename or delete a custom role
To rename a role you created, open it in Settings > Custom Roles, click the Edit pencil icon, change the Display name, and click Save. The new name also updates for the team members assigned to it.
To delete a role you created:
Reassign everyone using it to another role from Team.
Return to Settings > Custom Roles and open the role.
Click the Delete trash icon and confirm.
You can edit a custom role's permissions or name while people are assigned to it, but you can delete it only when nobody is assigned. The built-in Admin, Manager, and Staff roles cannot be deleted. Manager and Staff also cannot be renamed.
Troubleshooting
Was this helpful?
Still need help? Ask the team